15 June 2014

Le MOLY soap factory - Savonnerie Le MOLY

Hi everyone!!!

Such a long time since i posted something on my blog. But as you may know, i had the project to open a soap business, and believe me, it takes a lot of time to make it real! So today, i finally would like to share with you my little soap business.

I'm proud and happy to present you my soap factory, Le MOLY

Le MOLY is a magic plant which has the gift to make people human and wise.

It's a good representation of my life philosophy, taking time to be aware of nature and people around us and stay simple and happy.

What a pleasure to make my dreams real!

Here is the links if you want to glance at the website


I'll try to transalte the webiste soon.

Hope you will enjoy it

Lovely soapy day

Jenny


5 April 2013

Menthol Crystals into a soap


This time, I wanted to test the freshness of menthol crystals into a soap


The easiest way to incorporate it into a soap is to melt it with your butters. It's as simple as that!


Identity


Saponified oils: Olive, coco, canola oil, cacao butter, shea butter, castor oil
Colour: Charcoal for the blue, spiruline + green clay for the green and natural white  
Essential oils: None. but a minty smell with the menthol crystals
Superfats: Macerat of calendula/nettle on sunflower oil (5%)


Results


I did two different test with menthol crystals, one with 3% of the total oils and an other with twice less, 1.5%
And I much prefer the one with 1.5% of crystals. The smell and the sensation on the skin are less powerful than the soap with 3% which I think is far too much. Normally, the maximum of menthol crystals you can use into a cosmetic is 5%. After, it's up to your preference


You have this icy sensation on your skin with the fresh smell of menthol, it's quite enjoyable. It's definitely a wonderful soap for summer


By the way, I finally come up with the brand name! That's was quite tricky because most of the time, the name is already taken or the .com isn't available. So, I changed my mind a lot of time and now it's done. I've got my official name! I just have to wait for the official paper from INPI. When I get it, of course, you'll be the first to know it :)


Next step, the logo and the packaging... love it!


25 March 2013

Tussah silk fibre into a soap


  Second week, second test...  Tussah silk


Such a beautiful ingredient! I like to work with it. First of all, because it's very soft to work with, but above all, the benefit it brings to the soap is remarkable


 Look how the fibre are light and thin


And one good point as well of using tussah silk into your soap is that you don't need a lot to work with. A tiny amount is necessary. You can add between 0.03 and 0.2% of  the total oils at your lye solution . And because it's light, it finally represents a lot


How to work with tussah silk? It's very easy, you have to separate the fibre and cute them into a small pieces as I did on this follow picture. That's the most difficult things to do, because you'll see, silk is very hard to cut.  There is almost no texture, it's quite tricky


Then, the best way to dissolve it, is to incorporate the silk into your lye solution when it's still hot. You have to stir it quite often to help the silk to dissolve quickly


Silk into lye solution straight after mixing the caustic soda with water. Stir it for 2 min


10 min after, the silk starting to dissolve. Stir it for more 2 min


20 min after the step 1, the silk is almost completely dissolve. It's ready to mix with your oils


 What are the benefit of tussah silk into the soap?  

  • It definitely gives a slippery effect to a soap
  • Add a silky filling to a soap, a kind of softness
  • It gives to a soap a shiny appearance

 Using a soap made with tussah silk is a real luxury for your skin, I really like the feeling


Let's play a little game for the next test:

I give you a clue for the next ingredient test:     As fresh as ice... What it can be?

If you can find it, I'll send you the soap of your choice on the blog.  I'm looking forward to see your answer!!!


15 March 2013

Beeswax soap test and natural colourant


This is the first week of testing soap for the range. My brain is boiling of ideas. For a first test, I used a simple and common ingredients in soap making, but not the easiest to work with, Beeswax


It's quite tricky to make soap with beeswax. Its melting point is very high, around 62 degrees. And I usually mix my oils and lye between 30 and 35 degrees. So, I had to deal to with it and change my habit. You have to work very fast!

The oils + lye get thick quickly, so you have to work faster as usual. The trace arrived instantaneously. You are likely to experiment seize in soap making. 
If you plan to do sophisticated swirls, forget about this. Or you have to do a simple one. I didn't had any essential oils because I wanted to do a swirl into the soap. And even this, it was to late, the oils and lye was to thick to do anything with it


Melt oils + beeswax around 38 degrees


You can see on that picture how thick was the mix oils + beeswax, even at 38 degrees


     So, I had to steam the blending oil again. The perfect temperature to work with was around 55 degrees Even with a room temperature at 22 degrees, I had to work fast. I added the lye at 46 degrees


As expected, the soap had a gel phase which is normal with a high temperature saponification and beeswax


I would suggest to work with no more than 5% of beeswax. In that case, I used 5%, but 2%, 3% is better to avoid seize. A high percentage of beeswax contribute to seize. And when you work with beeswax, I suggest you not to discount your water very much, it's even better to work with a 30% lye concentration, even less it's better


Beeswax add hardness to your soap and has emollient properties. It's a nice ingredients into soap. Too much beeswax in your soap is bound to reduce the lather


Next test will be about natural colourant. This is what I have as dyes for the moment but I need to explore more of them to colour my soaps. It's not easy to have a large range of colours with natural dyes. Herbs and plants powder are difficult to mix together to obtain a new colour. However, clays mix well. So that is my next experimentation


7 March 2013

Soapmaking adventure!


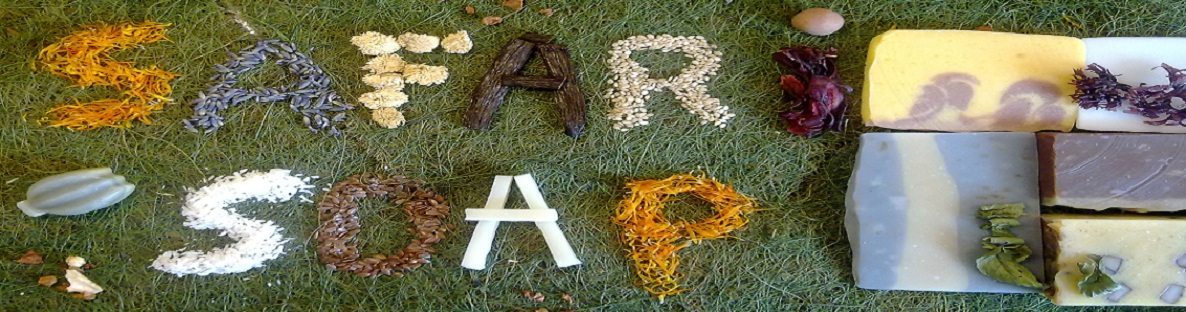
So, it's official, I decided to launch a soap business...


Passion for soap making, cosmetics and natural remedies is stronger than anything. It caught me few years ago and now it's a part of me. I eat, think, walk, sleep and dream cosmetics 

I'm not the first person who decide to take this way, there are a lot of good cold process soapmakers nowadays. And all of them really believe in there product as I believe in mine. We all know how good our soaps are and we'd like you know it as well. We express our art in different way. For my part, I only use natural colourant such as spices, clay or food powder. I never use fragrances, only essential oils to perfume my soap. And above all, I like to use all different kind of herbs, plants, fruits or vegetables to add their properties into my soaps.

I wish I could spread the word about the benefit of natural cosmetics on the best way as I can (when I say NATURAL I'm talking about the first meaning of natural, formed by nature, I'm not using it as most of industrial cosmetics companies use it, from nature, It's two different meanings). People have to know how good a simple and natural cosmetic can be. They have to realise how chemical are deteriorated their organism. 
Therefor my aim today is to create an ethical brand, which is going to make Organic and real Natural cosmetics with a guarantee of transparency for the customer. Make it simple and above all, good and healthy. I don't want to use synthetic ingredients to make a high profit margin, I want to use raw ingredients, with pesticides free to make my goodies and whatever it's gonna cost me, I know it's gonna be good for us and for the planet. That is the most important thing.

In reality, we don't need a lot of cosmetics to take care of ourselves. A cream for a night, another for the journey, another one for under your eyes, and why not to have one for your cheeks and an other one for your ears! It's seriously ridiculous! A very good cream can be used for your entire face, another one for your body and one for your dry hands, that's it! The only thing which have to be specific is your type of skin. In that case, you should use a specific cream because your dermis doesn't have the same reaction as an other one. We are all different in that case. For the rest, it's just marketing, believe me...
And therefor I want to create a truthful cosmetic brand without marketing brainwashing (as know as Greenwashing). And you know what? it's possible!You only have to be honest and not only thinking money... Anyway, it's a vast topic


So today, I invite you to be a part of my adventure. I'll be pleased if you would like to follow me and my little soap company :)

First of all, I have to deal with the name! I've got plenty of ideas... But still don't know which name is going to match well with the brand philosophy...

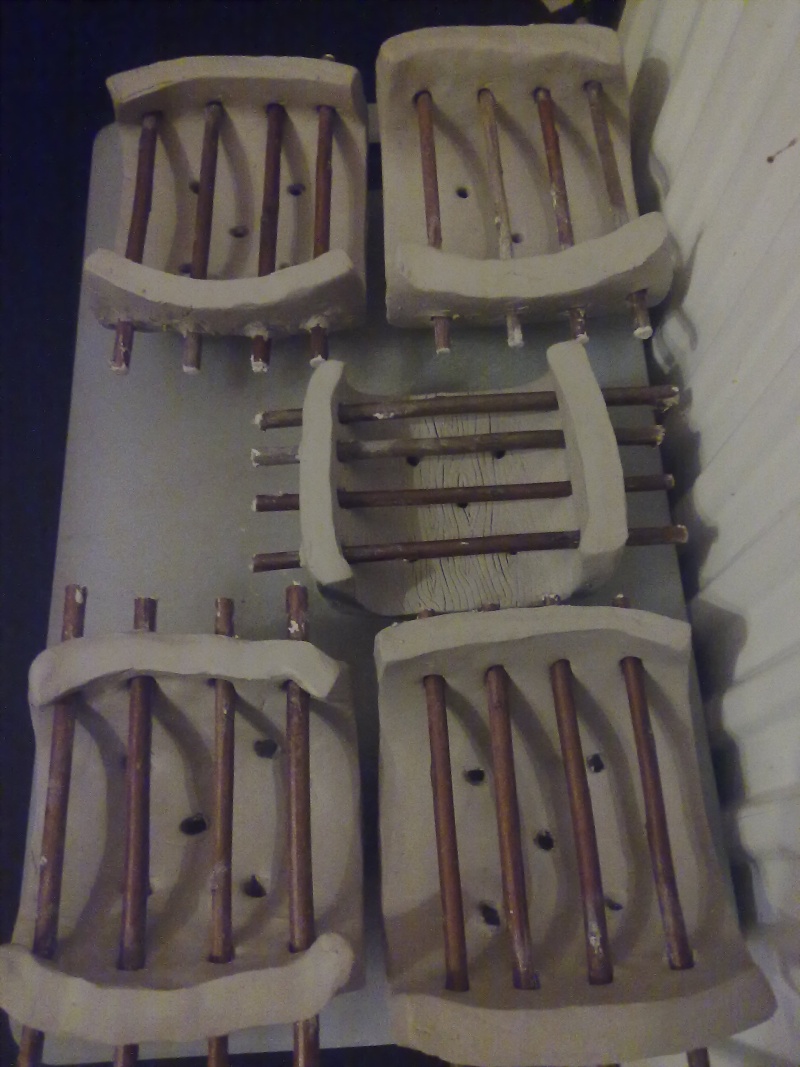
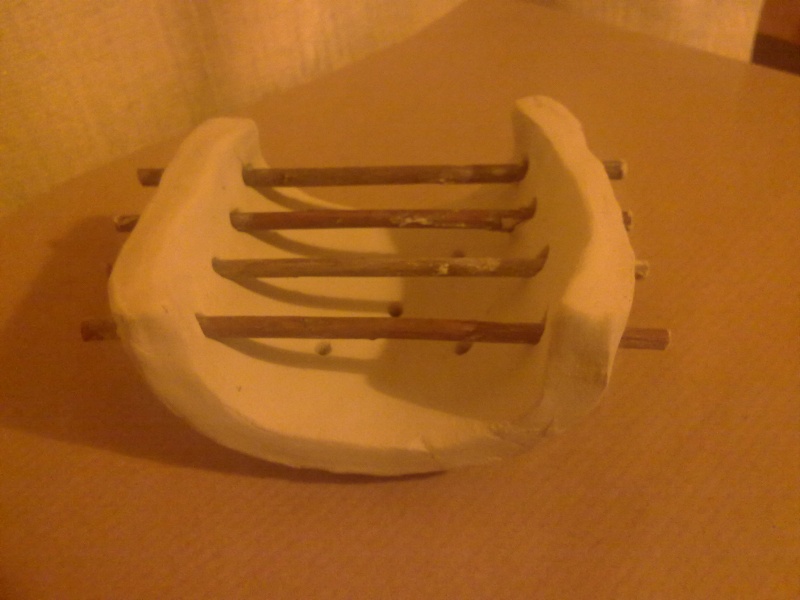
Second step, the range... Hum hum... My follow weeks will be reserved for testing recipes and that means a lot of soaps to make! I love this kind of hard work 

I'm really happy to share this with you ... Let's start the adventure!


11 February 2013

Moved Faux funnel: Challenge soap


I've participated in an other soap challenge in the forum Couleur Savon. We had to choose between 2 challenges:


Inclusion into soap or a variation of the faux funnel method


I chose the faux funnel as you can see in the title. The most difficult thing was to choose an original way to do the funnel. First, I thought about a special tool to create a shape into the soap but I was short of time to create it so, I decided to play with the mold instead of the funnel


Something new which I was excited to play with, my plexi-mold that I had for Christmas! And believe me, If you like to do swirls into your soap, that is the mold that you should have. I could have a very thin trace without problem to play with ( my wood mold was a Gruyere, I couldn't have a very thin trace without  it overflow everywhere) and I could tilt my mold easily to swirl the soap as I wanted. And it's very easy to unmold. I'm very pleased with this Plexiglas mold, but I still love my wood mold for regular uses


Identity


Saponified oils: Olive, coco, avocado oil, cacao butter, shea butter, castor oil
Colour: Charcoal for the blue, cacao powder for the brown and natural white colour
Lye solution: 0.1% of tussah silk


Results

I don't have any pictures of the way I tilted my mold to do the swirl. In one word, I tilted it on one side and I poured the colour one by one inside the mold by doing a round trip. It's not easy to explain

And I quite like the result! The only thing is a pity, the funnel is not as original as I wanted. I thought I could have had an unusual effect by using this method but finally, it looks like a normal faux funnel. Anyway, it's ,despite everything, a very nice result


By the way, look how this soap looks like this snail shell! Incredible
If you want to have a look at all the creations on the forum, it's here 


6 February 2013

Nettle soap


Urtica dioica or Urtica urens, I'm sure most of you knows the benefits of nettle for our body. So, it was obvious to try it into a soap. That one will be used for face, a special soap for oily and acne skins


Identity


Saponified oils: Olive, Coco, Castor oil, Shea butter, Nettle/Sesame macerate (20%) 

Superfats: Jojoba oil (7%) 
At trace:  Kaolin (6%),  Liquid extract of nettle  (1%) 
Colour: Natural white + Kaolin, spinach powder, green clay and centella asiatica powder for the shading of green


Results  


I used the macerate of nettle that I made few months ago. On my previous pictures, you can see how green the macerate is, I soaked plenty of nettle in the oil during 2 months to obtain this deep green. I replaced the dry nettle after 1 month. 

For the swirl, I used a very light trace to make a one pot swirl. Even with the alcohol in the Nettle liquid extract, I could do my swirl as I wanted, light and thin. But I had to do it very fast. I poured the pastry into the mold about 20 seconds after I added the liquid extract, otherwise I would have had a thick pastry and my swirl would have been completely different. It's much better to do this kind of swirl without additive which accelerate the trace.


The soap is as it should have been, soft and very creamy. I real pleasure to wash your face with, even for a daily use. The lather is creamier than frothing.


Nettle contain many good active ingredients such as flavonoids, histamine, acetylcholine (nettle is the only plant to have this enzyme which is good for hair), choline, and serotonin are also present.  In addition, oleanol acid, sterols and steryl glycoside. 

 The leaves contain about 4.8 mg chlorophyll per gram of dry leaves and is rich in protein, 40%!

Nettle is also rich in mineral nutrients, iron, zinc, copper, calcium, phosphorous, magnesium, manganese, sodium, potassium, and selenium.   

In other words, Nettle is essential for a healthy body. The active ingredients of nettle are the result of lot of properties:

  • Growing hair 
  • Anti-rheumatic
  • For anaemia
  • Anti-inflammatory
  • Acne, eczema and other skin issues
  • Hay fever


So, let's see with the time how nettle soap is gonna help acne and oily skin, I'm sure it will. I will let you know for sure. Some of my friends is trying it for the moment, I'm waiting for feedback


11 January 2013

Clay soap dish


One of my new challenge for this year is to make a soap dish by myself. Ceramic was a good option but I couldn't cook it properly, I needed a kiln for that. Anyway, I finally used some air dry clay


So first step, I had to prepare my square. They have to be thick enough for a strong base but not much for a folding
 
I wanted to give them a natural wood effect. I did it with a thin blade. The problem was the time it took to realise it. It was too long to do that on each square and I didn't have any stamp, so I gave up the idea


Then, I did 5 holes in the middle of the square for the drainage and I cut 4 wood sticks with the same length for the support. The 4 balls are going to serve me as a support for the base


After putting all the pieces together, that's the result...


I don't have any pictures for the follow steps but there were very easy to describe. The soap dish had to dry for at least 5 days. For helping the process, I put them on the heating and after only 3 days, they were completely dry. Then, I soaked them into a special product to waterproof them. I did it twice for a real waterproof qualities. You normally can paint them before they are varnished but for a first attempt, I finally decided to let them with their rustic look. But I have a loot of ideas for the next one :) Shape, colour, effect, you can do a looot of things with clay


And that's it, it's easy as that!! I tried them in 2 different places, in a shower and along a bath. And I can assure you they are completely waterproof. I have no idea about the lifespan but for the moment it keep perfectly in my shower


Inspiration: I found this model on Pinterest